Happy Birthday to Me and a Trip to the DMV


Yesterday was my birthday!  One of my most favorite days of the year because I am a little bit selfish that way.  And, it’s true.  I completely love a day devoted to ME! 

But, my driver’s license expired yesterday and while the DMV had generously given me over 6 weeks to renew, I put it off until the last day. 

So yesterday morning I wake, shower, fix my hair, get dressed and apply makeup.  I know it’s only a driver’s license picture, but I will have it with me for the next six years.

After a bit of trouble actually finding the place, I arrive

And it was pleasantly uneventful. I took my yellow ticket – number 48. They were on 46 when I got there.  About 15 minutes of waiting I get called, pass my test, get wished a Happy Birthday, take a lousy picture and head out.

And guess what!?

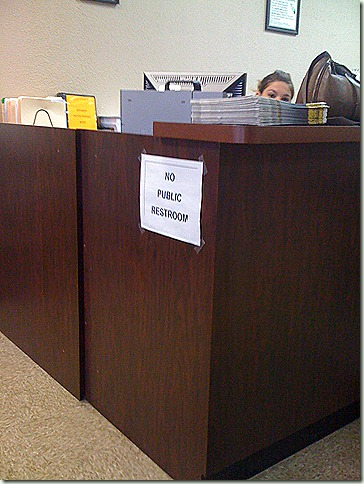
Sadly, I can't pee at the DMV.

IMG_0461

But I can try my luck at winning an awesome toy in the CLAW MACHINE!

IMG_0462

Harper’s Gingerbread Shelter

Harper has been volunteering at our local animal shelter for the past few weeks and has started blogging about it here.

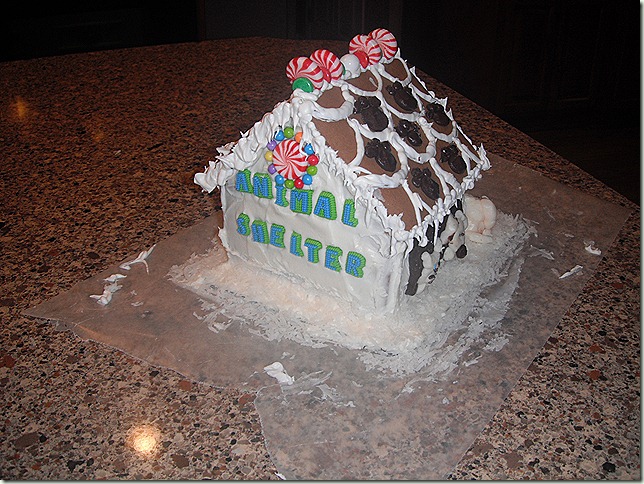
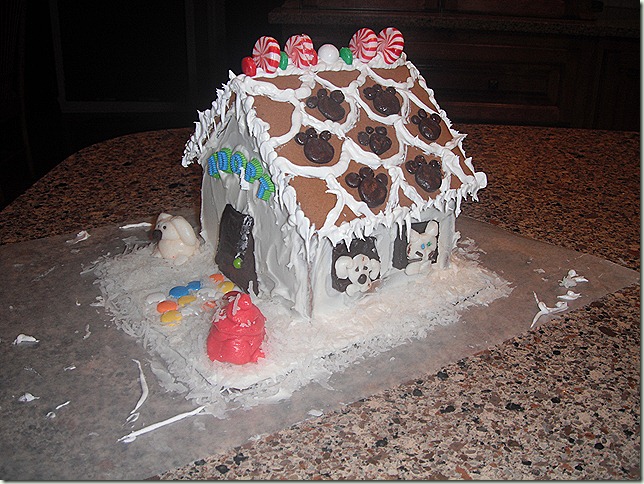
She also entered a gingerbread house competition and went with her most favorite theme!

Check it out!  I am most proud!

017
018

Busy, Busy, Busy


whew…

Can’t get my blog-reading in. It’s going to take me a day to catch up!

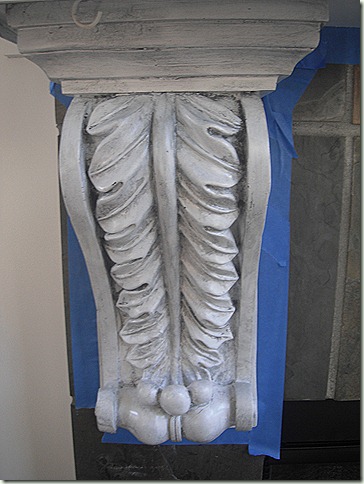
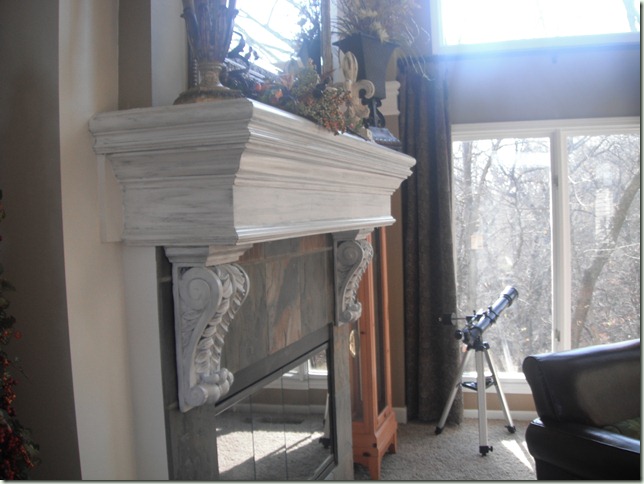
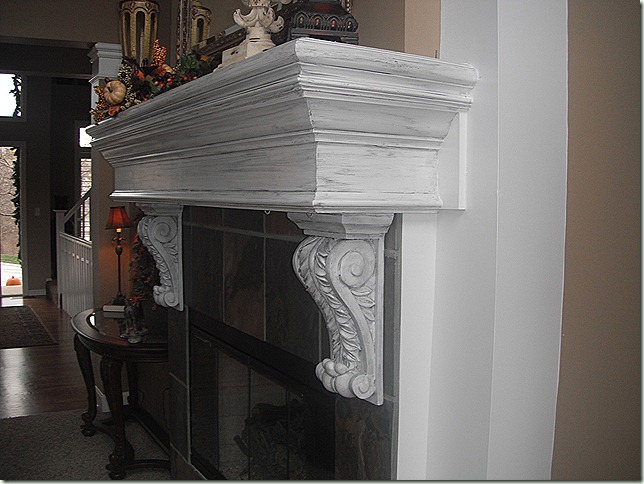
Got the mantle glazed, though!

I used Stainless Steel glaze from Lowe’s. It’s subtle and only took about 30 minutes!

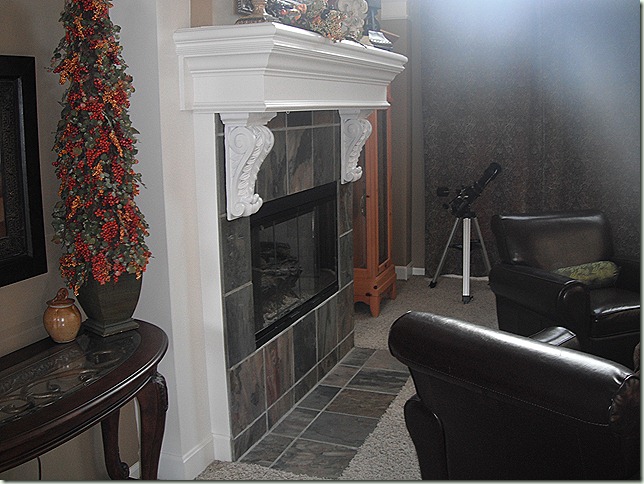
BEFORE

001

AFTER

002

BEFORE

027

TWO AFTERS

004

005

Fireplace Corbels

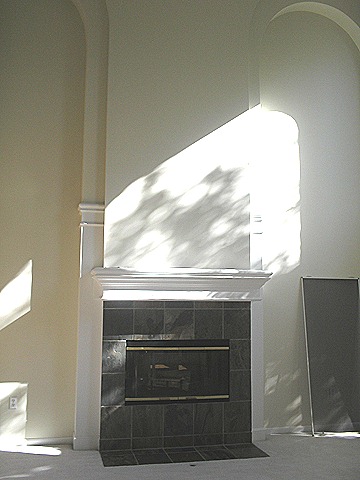
 I always thought the Fireplace in the Great Room needed a little sumpin-sumpin. The mantle just seemed too big and heavy to me.
Here it is when we got the house.
Living Room Fireplace
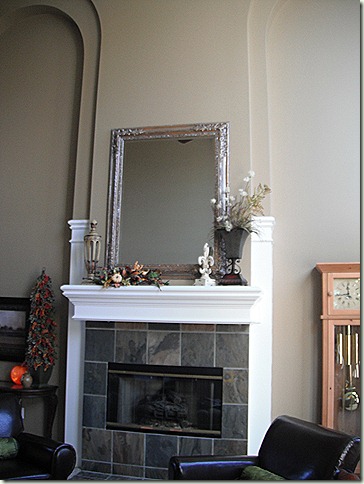
After paint and and some accessories.
074

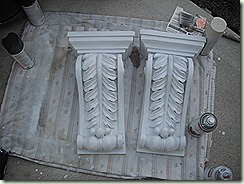
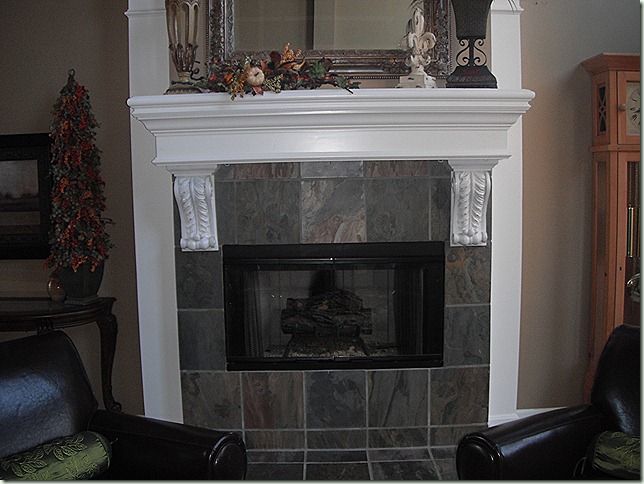
Then, I finally found the-size-I-wanted at the-price-I wanted corbels.  They were black, so I spray painted them white and then glued them to the fireplace. I also removed the glass doors and painted the brass edges and the wood handles black with high-heat appliance paint.

008

I like it much better.  And it was super easy!  I think my next step is the glaze the mantel with a stainless steel glaze I found at Lowe’s.  If I hate it, I can always paint the whole thing white again!

029

Lifting Elephants

…Ears, Cannas and Gladiolas.

That time of year.

Remember my Black Magic Elephants Ears?  They did GREAT this year. I bought 2 bulbs from Lowe’s at $20 a bulb! Not a typical purchase for me, but I wanted them REALLY bad.  Ryan was with me and I pretended shock when we got to the check out. But really, what’s he going to do then? Not get them?! 

Plus I told him that I could lift them in the Fall, so next year, they really only cost $20, then the next year $10, then $5…and so on and so on.  If you think about it, those things are an INVESTMENT!

image

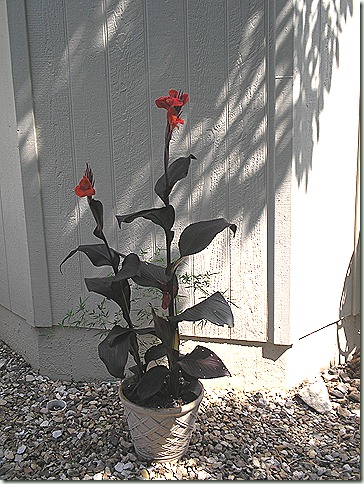
I also had two fabulous Cannas in a pot with some bamboo my neighbor gave me.  I think I paid $5 for the Cannas. The did great and bloomed all summer.

Blog uncompressed 064


Blog uncompressed 063

And I’d gotten about 50 gladiolas for $5 in mid-summer, which is late.  I got them in the ground, but only about 5 bloomed.  I’ll get them in the ground earlier next year, and they should do better.

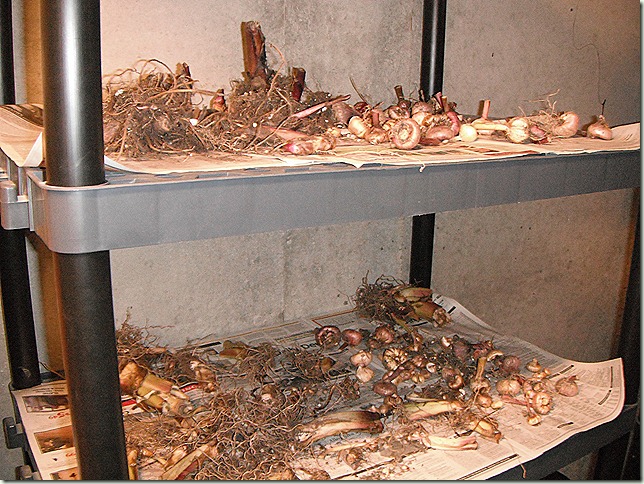
Starting to get some early morning light frost, so, last weekend I dug them all up, separated what I could and have spread them out in the basement to dry. I’ve got all my originals, plus about 18 baby Elephant Ears! about 10 more cannas, and about 80 glad bulbs.  YAY!  If I can keep them from rotting, it’ll all be good.

I typically have good luck with saving bulbs (or corms or whatever). However, last year I had a bunch of caladiums, but failed to dry them properly before storage.  ugh….they were a soft, mushy mess when I pulled them out in the Spring.  I learned my lesson.

007

Here’s to having a plan and sticking to it. And really, it’s like growing money…right!?!?

Prepping for the Kids’ Den


Next big project?  Finishing the space under the Dining Room.

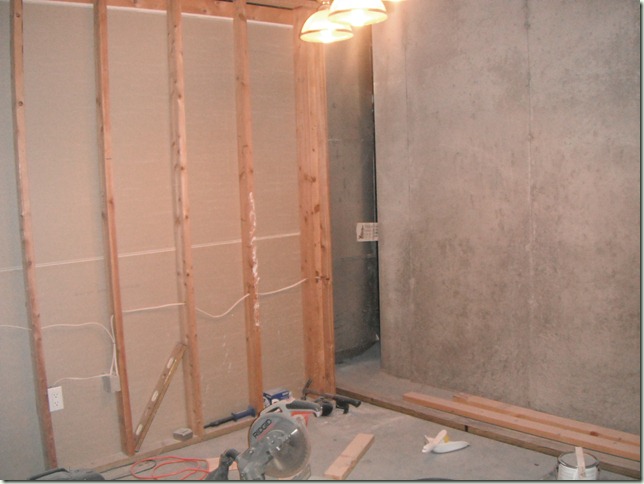
It’s an oddish space. A completely interior room.  In model homes of our floor plan we’ve seen this space finished as an Exercise room, an extension of the bar, even a room devoted to wine tasting: with a wine cellar and a small table and a few chairs!

image

Our plan? An all-purpose room! How’s that for flexible living?

For the right now, it’s going to be what the kids are calling the “Kidz Den”. A place for them to hang out: we’ve got planned storage, some built-in desks for computers, homework and projects; a TV and all the gaming stuff.

First step was to move the security alarm box, which would have caused difficulties in framing the room. Check!

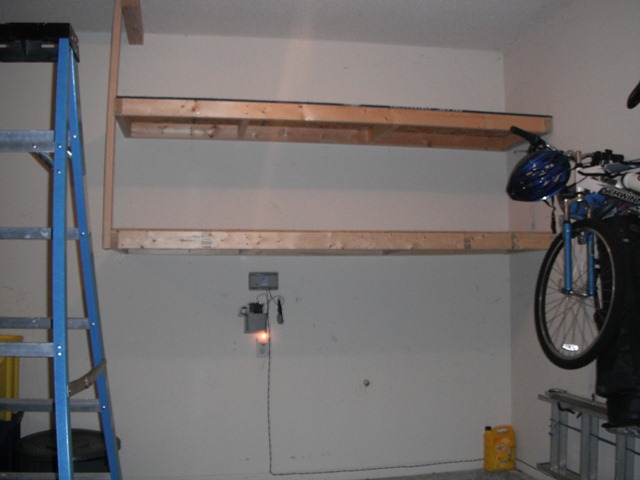
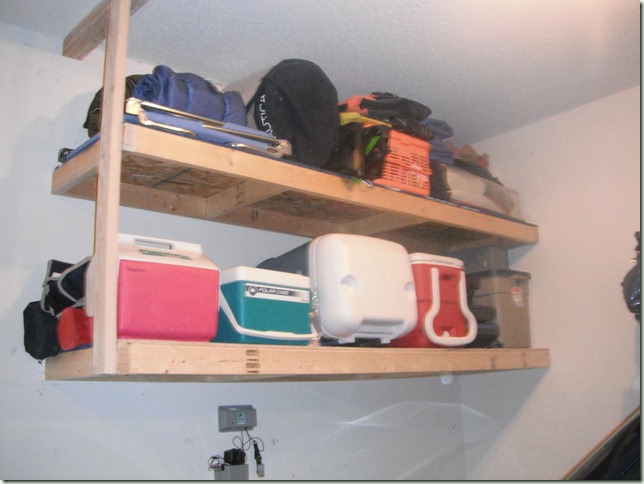
Second, was to build the storage. But, because we like to reuse stuff, we needed the “already built shelves” that are in unfinished basement that will some day be a bedroom. (see Future Bedroom above.) So, Ryan moved these to the garage.

009


And he put all this on it. 


015

It’s all of our camping gear and coolers, which is BRILLIANT since this is where we need the stuff. Before these shelves were built in the garage, we would haul it from the back to the front in a wheelbarrow.

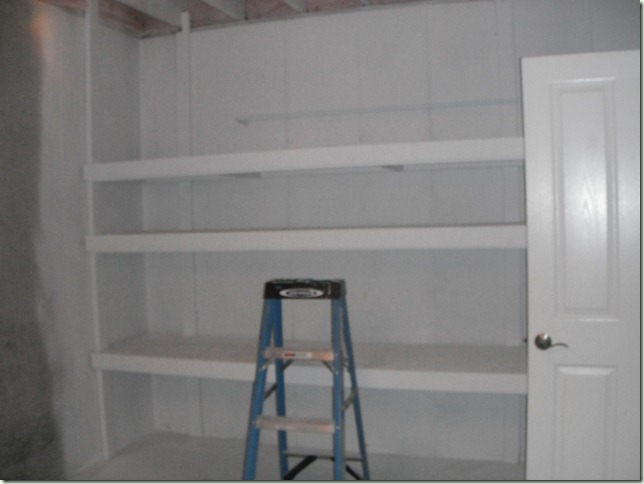
Then, he moved more shelves into the “Kids’ Den”—making this. We will have two sets of double doors to hide these shelves. He also spray painted it all.  We are leaving this “closet” unfinished (this area also includes water pipes and the sprinkler system drainage), but thought painting it all white would give it a more finished look.  Also, when we do the carpet, we will also carpet into this closet.

033

Next, Ryan will start the framing.  Luckily, there will only be two walls requiring framing, and one of those walls will have the double doors.

Also, because this is an interior room, we are going to replace the solid door with a glass-paned door, to allow natural light and parental peeking. 

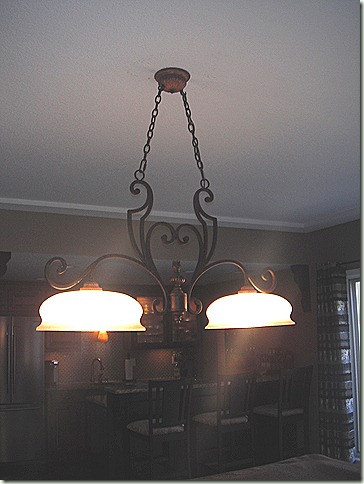
Here’s the rest of the room….long way to go.  Oh! Side Note: see that light hanging in there? That’s the old light that was over the pool table in the family room.

032

Here’s the new one.

034

Ryan promised the kids he’d have their room done before Christmas.  Knowing him, he’ll probably keep that promise.

I love my Kitchen…Island

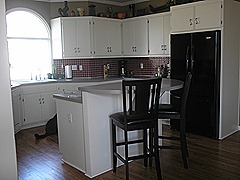
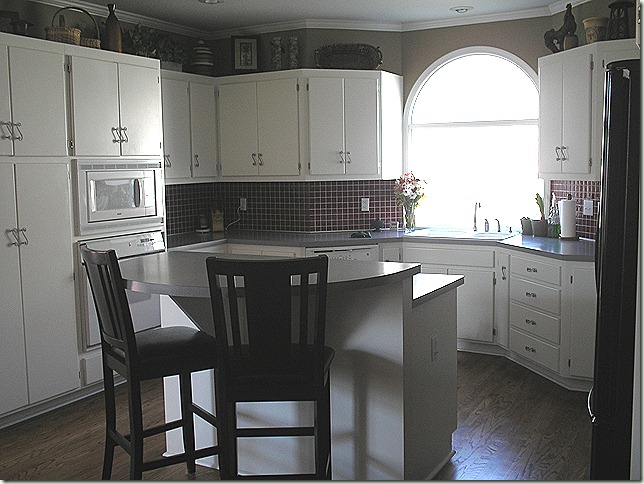
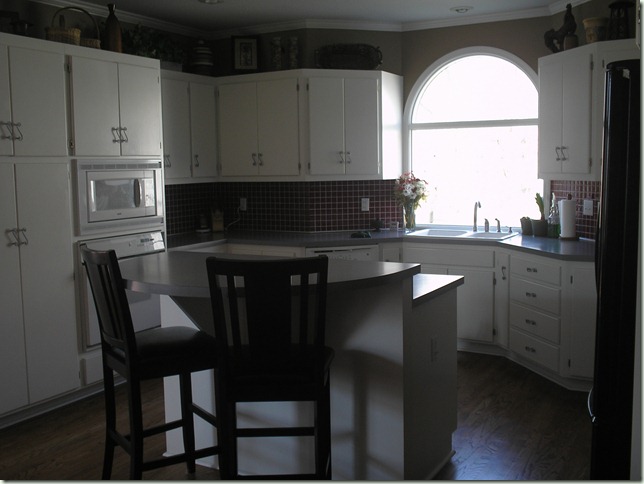
Before the Gut and Remodel, the Kitchen had a Center Island.  It was entirely too wide and very inefficient.

Kitchen18

kitchen22

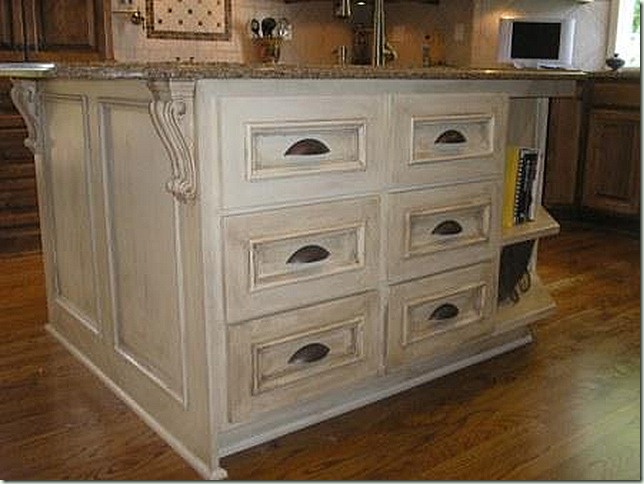
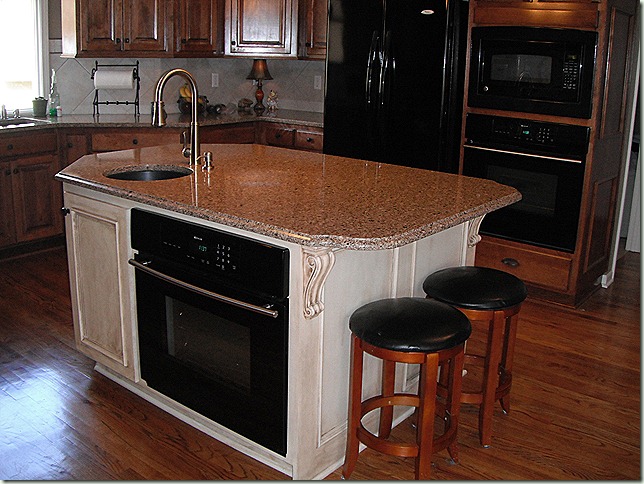
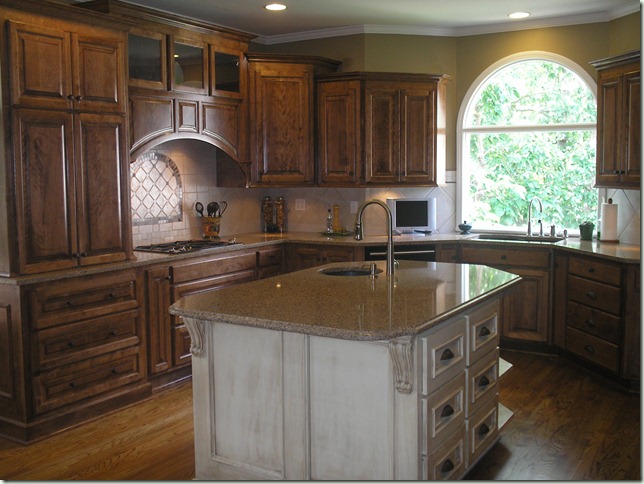
Since we decided to remove everything and start from scratch, we were able to customize the new center island. We lengthened and narrowed it, which fits the space so much better.

We chose to have it painted with a glaze.  We also put in lots of drawers.

island-drawer side

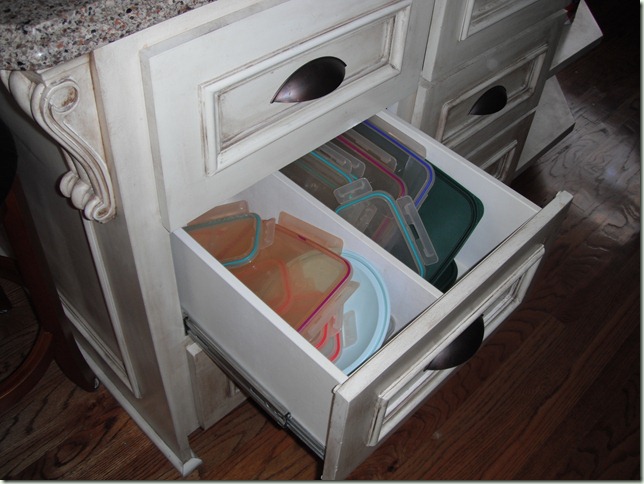
Drawers that include dividers for all of my Tupperware lids.

058

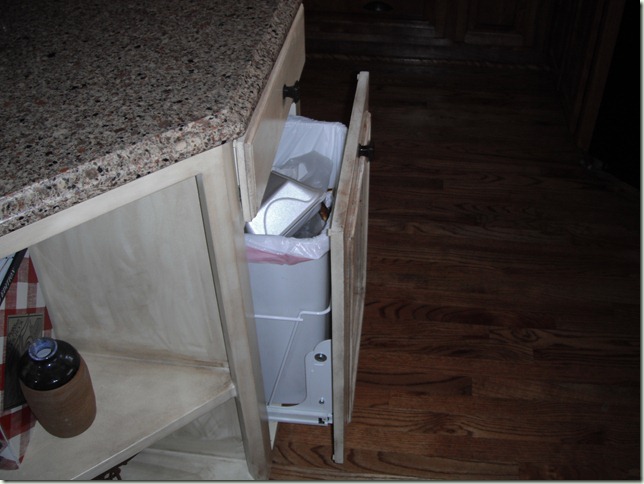
And a rollout trash bin, which is right across from the main sink, put also right by the Prep Sink, too.

055

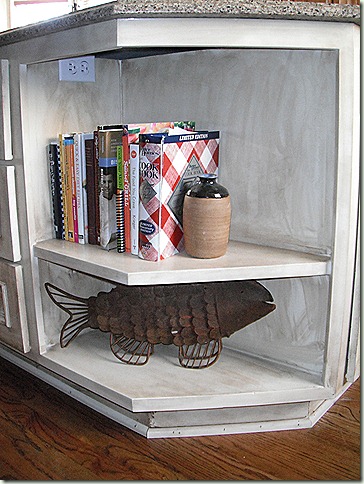
I love cookbooks and wanted a spot to keep those I was using most frequently.  These shelves work great for that.  We also included outlets on the island, too.  There’s this one that’s hidden, and another over by the prep sink. This works great for using the electric knife for carving, when doing lots of batches in the food processor and for crock pots when we have parties.

056

We debated a long time about the prep sink, especially since we went with the pot filler faucet.  We both love the look of a seamless island, but I’m really glad we finally decided to put the extra sink in.  It’s right across from the cooktop, so is perfect for draining pasta. It also faces more towards the main television, so when prepping foods is nice. Also, I can still pile the main sink with dirty dishes, but have access to a garbage disposal. 

Best of all? When we have parties, we fill it up with ice and beer!

Also, the second oven is here. It’s fantastic, too.  Being right across from the cooktop, I can pull something off the heat and put it right into the oven.  We tend to use this one for casseroles and breads and the other for baking and frozen corn dogs.

We went with an Ogee edge on the island countertop and the fancier corbels. The countertop guy also added the extra detail to the side with the stools. No lie, that all added up quick, but I really think those details make a difference.

062

The BEFORE

Kitchen2

And the AFTER

Kitchen light over center island

Linked to Remodelaholics.

RIP Ginger


Today Harper’s Hamster Ginger passed away.  She was 2 years and 3 months old. She left behind a sister, Cinnamon, and the rest of her loving family.  She was buried in the backyard this evening.

Rest in Peace Ginger, you were a sweet hammy.

Extension COMPLETED and a Bonus Chalkboard Wall

When Ryan was finishing my office, we also knew that SOME day we were planning on adding a bedroom in the basement, which would require us to extend the hall that led into the workshop/where-the-workshop-and-bedroom will be some day. So, in the interest of making the biggest possible mess that we could (saw dust, drywall dust, general chaos, etc.), knowing that all future projects could be done BEHIND CLOSED DOORS, we extended the hall at the same time we did the office. And it’s DONE!
Here’s where we started. This is the door that leads into the workshop, right before Ryan ripped out the walls. You can see the WIP HERE.
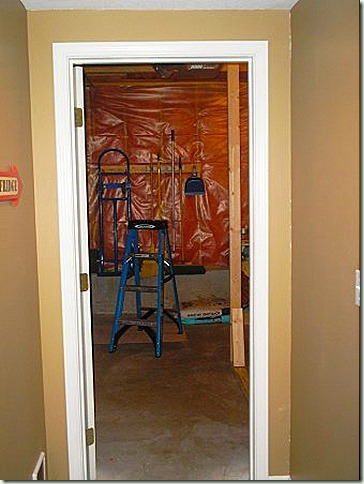
1 Hall from Family Room a
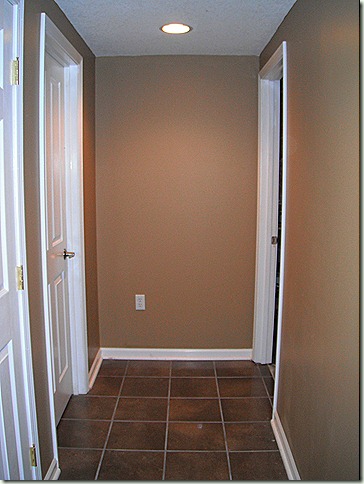
In this picture, I am standing in the EXACT same spot as the picture above.  See the Red arrow above?  Ryan put a door in there to give us storage access to under the stairs.  The door to the left will be a bedroom, and the door to the right will remain the workshop.
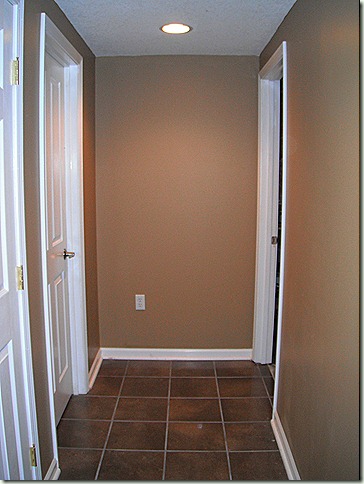
 078
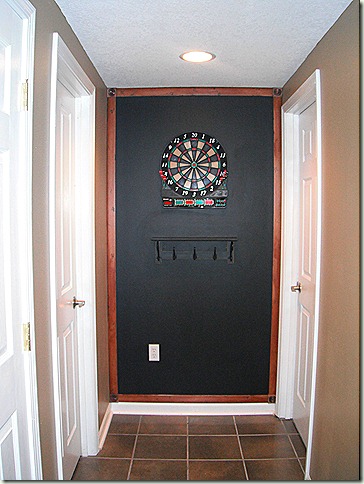
Our plans were always to hang the dartboard at the end of this hall, and while Dave and Renee were visiting for the Chiefs/San Francisco game (go CHIEFS!), we were discussing the cool uses for blackboard paint.  Out of that came the inspiration for the following.
First, I prepped the area, then painted it with two coats of Chalkboard paint from Lowe’s.
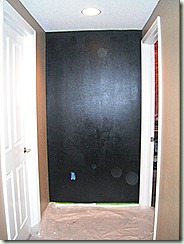
001
Then, Ryan and I went shopping for trim. What we were trying to do was give it an old-time School board slate feel.  Like this piece. This was Ryan’s grandmother’s slate board and school bell from when she taught school.  really cool.
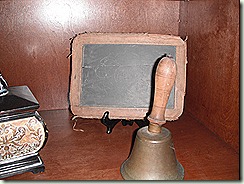
DSCF0367
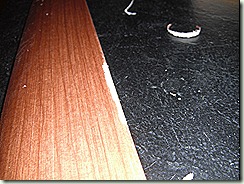
When we got to Lowe’s and started looking at the options, they weren’t terribly cheap. Until we happened upon THIS stuff.  I have NO idea what it’s made of, but it was only $5 for a 10 ft piece, and I really thought I could make it look good.  Ryan had his doubts, but for $15, he was willing to let me try. The color was russet, and it almost feels like Styrofoam, in a way?
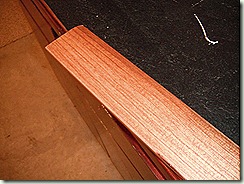
002
Using these tools, I “worm holed” and lightly hacked at the edges of the trim pieces. There’s a FANTASTIC video for worm holing at the Magic Paintbrush HERE. I’m telling you, Jennifer has some mad skills. If you aren’t familiar with her work, you need to check her out. super talented.
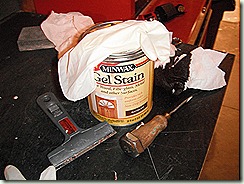
 003008
Then, using Gel Stain leftover from another project and paper towels, I wiped on and wiped off. trying to get extra stain into the wormholes and the hacked up pieces.  TIP: No matter what, use gloves when working with Gel stain.  The first time I used it, I did not wear gloves.  A week later I still had stain-stains on my hands. grody.    
Ryan hung the “frame”, using those square corner pieces, which I also beat up and stained.  We didn’t know how the trim would cut.  It cut well enough that we could have mitered the edges, but I’m glad we went for the square corners.
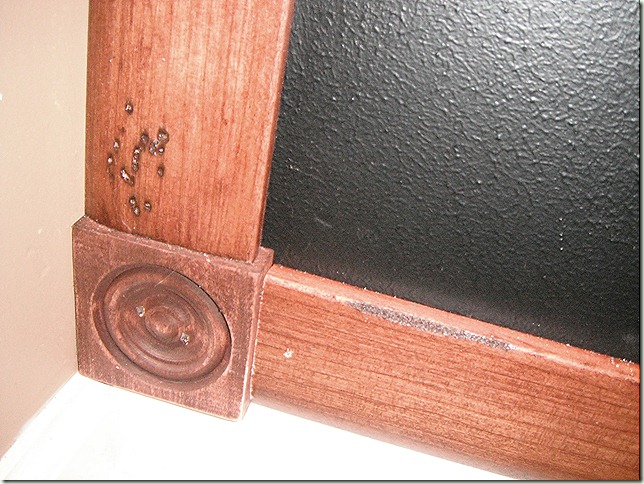
038
Next, up went the dartboard and a shelf we got 50% off at Hobby Lobby. (Is there any other way to get something at Hobby Lobby?)
Before
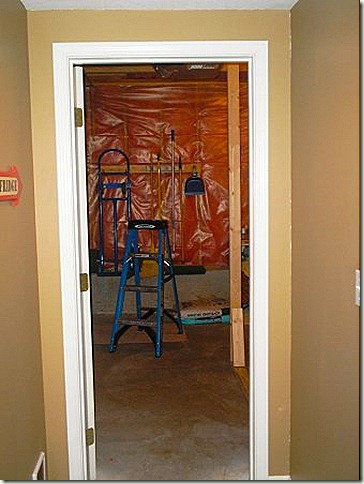
1 Hall from Family Room a
Middle Before
078
After
034
It’s already gotten a ton of use.  I’m going to get some chalk today, and make a little bag to hang the extra darts and tips in from one of the hooks on the shelf.  Total Cost for the “chalkboard”: About $30.  And super quick and easy.

oh! And total side note.  Ryan got the dartboard at an Estate sale about 1/2 mile from us.  It's the same house where David Cook's brother now lives.  Once, driving by, I saw David Cook in the backyard: a celebrity encounter!

Linked to Met MON and the Power of Paint!
White Rainbows


I was walking Tippii the other morning around 8 am and saw a White Rainbow.  At first I thought my eyes were playing tricks on me, but it was there.  I got this picture with my iphone and Googled it today.  It’s called a fog bow?  And I guess they’re kind of rare?  Cool!

IMG_0449

I love my kitchen….Cook Top

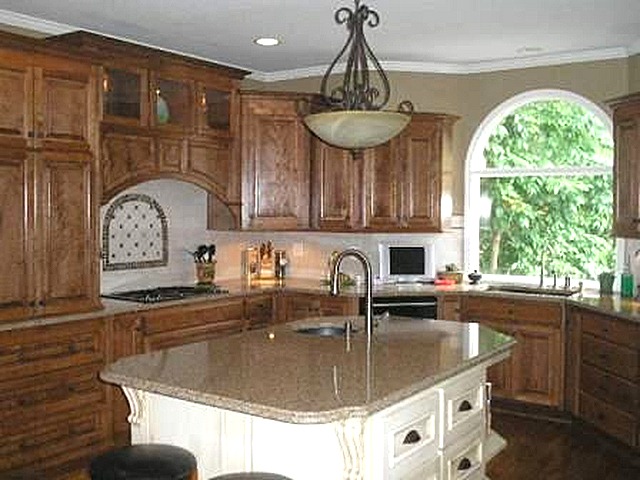
When we redid the kitchen, we moved the cook top from the Center Island that was there to the perimeter.  We wanted it on the most visible wall when you entered the room, and we wanted it to be pretty.

The BEFORE

Kitchen2
And the AFTER

Kitchen2a
The BEFORE

Kitchen5

And the AFTER

071

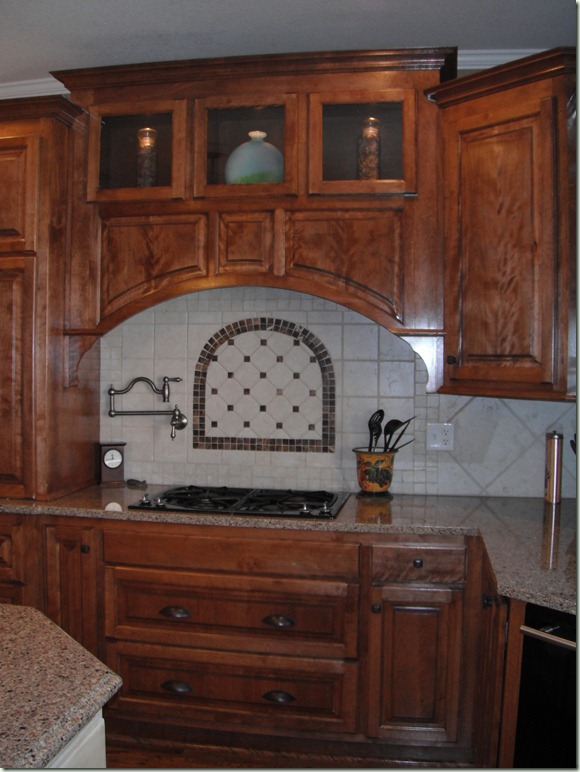
I love the lighted glass cabinets above, the fantastic job the cabinet makers did on the curved cabinetry, which is hiding my Zephyr Twister Power Pack for ventilation and light (HIGHLY recommend), my Pot Filler Faucet, and the tile work back splash, with four different sizes of tile, which I designed myself. And I got to help the tile guy, too.  He may have not thought I was being helpful, but I had fun. 

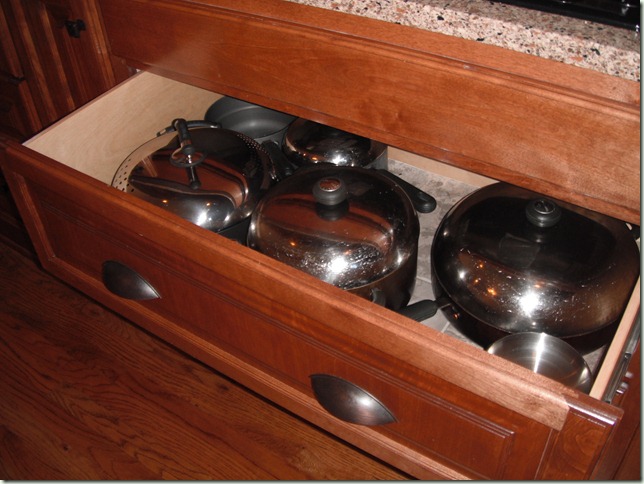
We swapped out to a gas cook top, which I love. And then underneath that are these huge drawers to hold our pots and pans.

060

I love my kitchen cook top!

Linked to Remodelaholics Anonymous.

Peeping Tom or Nosy Neighbor?

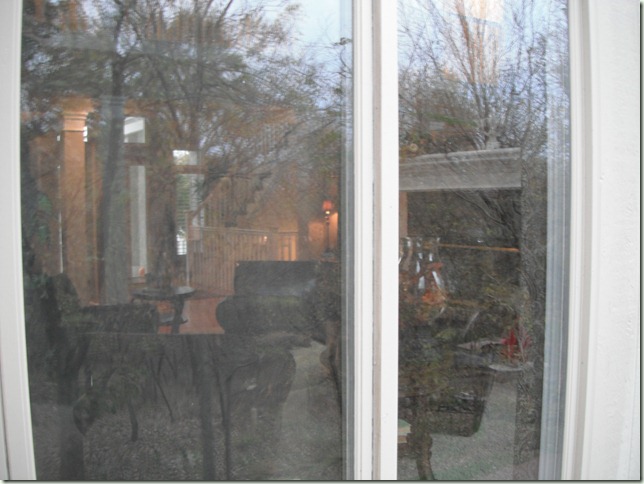
I loved Erin’s picture of “peeping” into your own kitchen, inspired by Mama Pea’s post, which I believe was inspired by someone else, too!   And, in truth, just like Mama Pea, my favorite time to walk or drive through a neighborhood – especially a neighborhood with fabulous homes – is at dusk, when you can still see the outside of the house, but can also have a peek at the rooms and decor inside.

I thought it was such a cool idea to do these “peeping” photos, but, at first, I laughed at the thought of it for our house. 

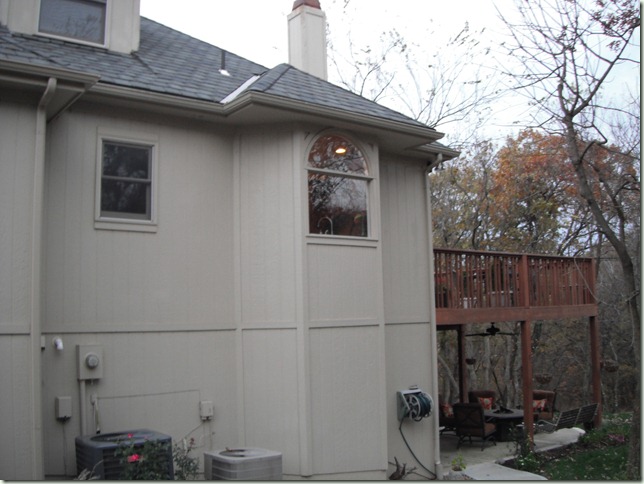
That’s our kitchen window: the arched one to the right.
  026

But then, I was all DUH! I can get pictures of the kitchen from the OTHER side by simply standing on the deck.

Here’s Day.

019

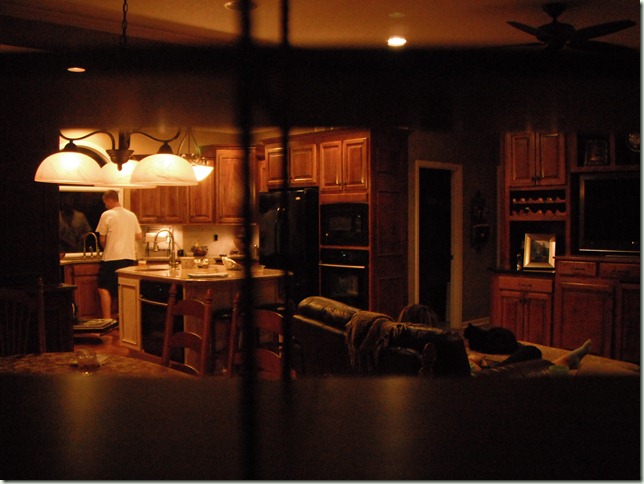
And Night.  Yup! That’s Ryan cleaning up the dinner dishes.  He didn’t even WANT to know why I was taking pictures at night time through the window.

 036

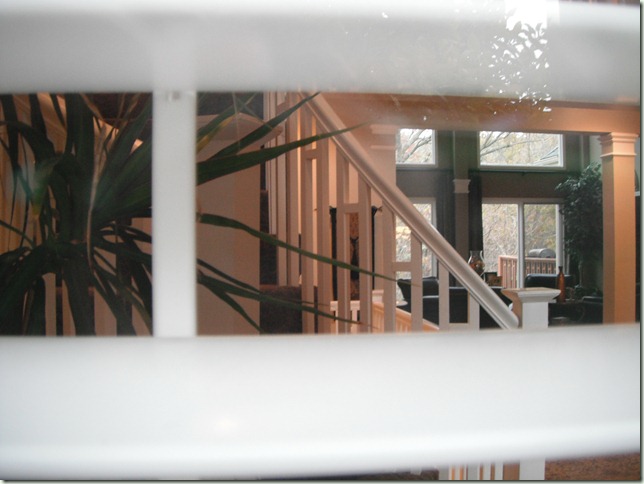
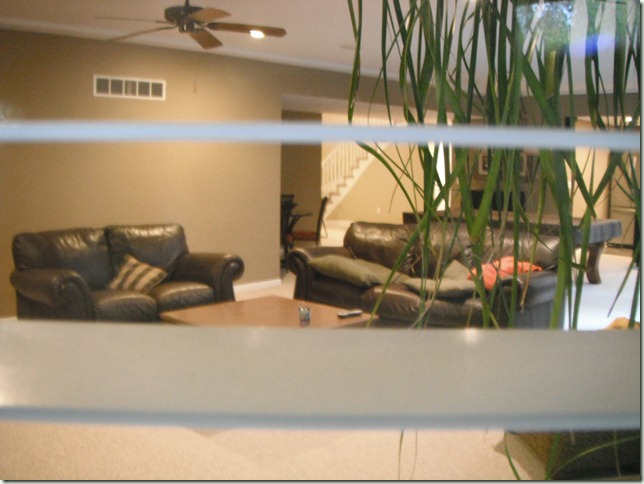
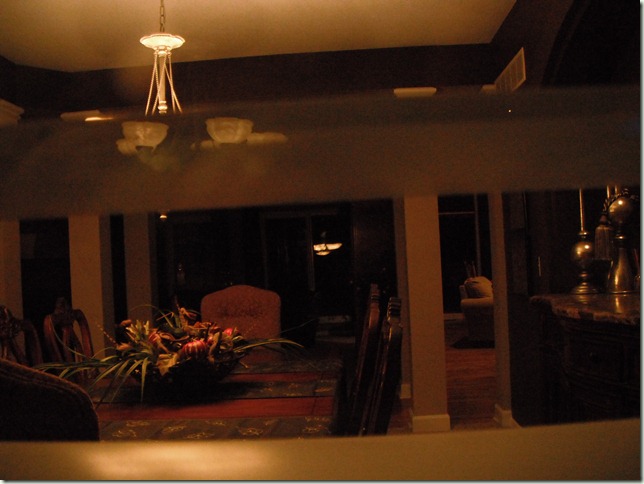
And while I was at it – I went around and snapped photos where I could reach the windows.  

This is a second story window into the Living Room – I had to lean over the deck railing to get this.

032

From the Front Porch. 

See the deck in the back? That’s where I was standing for the photo above.

025

Lower level now – looking into the Family Room.

028

At the front of the house again, peeking into the Dining Room. And as I was taking this picture, a friend was dropping off one of the neighbor kids at the house next door and saw me.  It was funny how I almost felt like I was doing something I shouldn’t be doing ... either way, I know she thinks I'm crazy. 

038

So with all that, I would really love to see your photos, too.  I’m going to try a linky tool to let folks post links to their photos, if anyone is interested. Sincerely hope it works.!